Pages

Monday, December 26, 2011

Cajun Spiced Crab Cakes

Every Christmas Eve we have a crab feed at my house. This year was a bit different because Tom and Junior actually went out and caught the crab for the dinner table. They had great luck catching 6 rock crabs and 6 large Dungeness crabs. More than enough for 5 people, one of which wasn't interested in eating any crab. Eventually we'll get Junior to enjoy it.


Every year, even when we buy crab, we always have some left over. This year was no exception. My mom always made crab cakes the next day with what was leftover, but of course she's in Ohio so it was my turn to try my hand at them. Having never made them before I was a bit nervous. But in the end I was really happy with them. So here's how you can do it too.


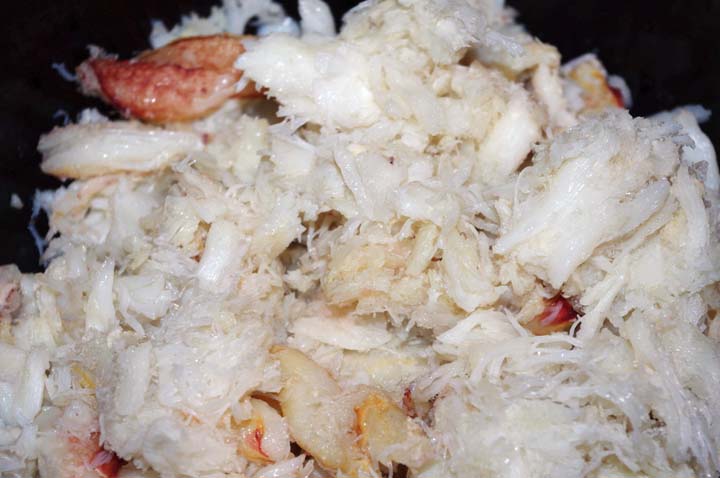
1 lb Dungeness Crab meat
1 Egg
2 tsp Cajun Seasoning
1/2 cup Mayonnaise
1 tsp Hot Pepper Sauce
1/4 cup Oats
1 Tbs Lemon Juice
3 Tbs Safflower Oil

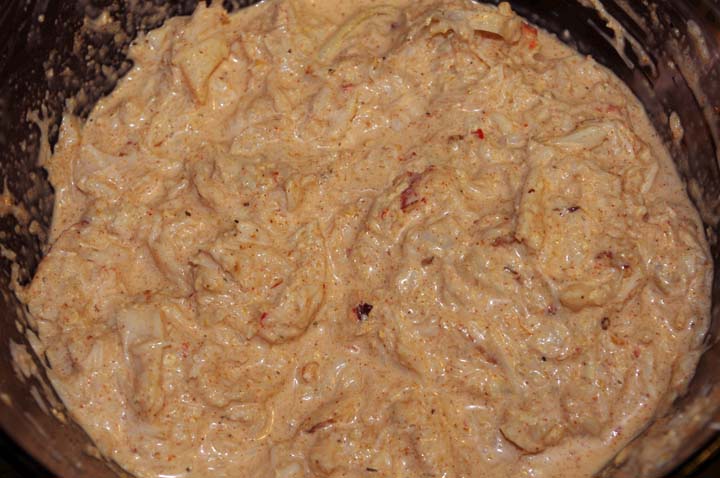
Remove all the crab meat from the shell. Grind the oats up. I like to use a coffee grinder as it gets them fairly fine. Add everything except the oil in a bowl.


I made the mayonnaise from scratch. I find that the commercial stuff is a bit too strong when I add it to stuff. I'm not sure what the strong flavor is, but I don't much care for it. The homemade mayo is much milder and what is left you can use to make an accompanying aioli. Also feel free to add more hot sauce if you wish. A teaspoon doesn't add much heat at all but rather just builds on the flavor profile.


I was surprised when I mixed this all together just how runny the batter was. Because it had egg in it though it should be able to bind well.


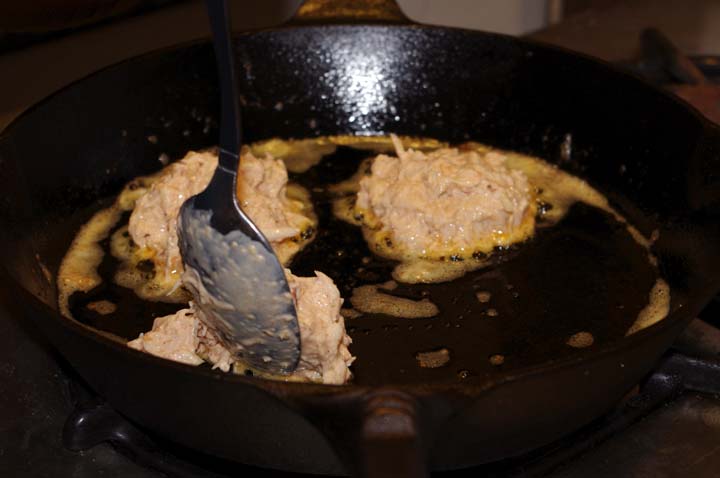
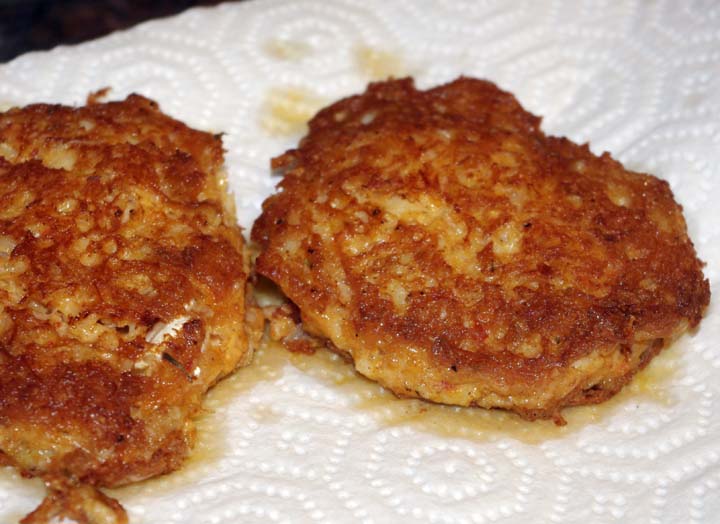
In a hot skillet add the oil over medium high heat and drop spoonfuls of the "batter." Flatten them with the back of the spoon and then cook until browned. Gently flip and continue to cook until the other side is browned.


Pull the crab cakes out and place on paper towels to allow to drain. Keep them in a warm oven while you cook the rest of the cakes. Serve the crab cakes with any sauce that you would prefer. We like to eat ours with more hot sauce.

Sunday, December 18, 2011

Makin' Yogurt

I love yogurt. I try to eat it every day. The problem is, if you buy it, it can get pricey. So I did some online research and found a great way to get my daily yogurt for a fraction of the price.

What you will need:

1 gallon of milk (any type of milk you want to use)
1 cup of yogurt with live and active cultures – later you can use the yogurt you’ve made as a starter
1 cup dry nonfat milk (optional – makes yogurt creamier)
Thick bottomed pot (large enough for 1 gallon of milk)
Candy thermometer
Sterile canning jars
Ice chest

Heat milk in pan to 120 deg F stirring constantly and add the dry milk
Combine some of the heated milk with the yogurt and mix until smooth. Add mixture into the hot milk.
Put mixture into sterile jars and seal lids. Place the sealed jars into an ice chest filled with hot water that is between 110-120 deg F.
Leave overnight in ice chest or until gelled. Place jars in the refrigerator.

That’s it.
The texture will be different than what you buy at the store because it doesn’t contain gelatin, modified corn starch or other added gelling agents. If you want a thicker, Greek style yogurt you can strain it. Place a large coffee filter in a colander, put the yogurt in the filter, place colander over a bowl and place in fridge. Leave overnight.

You can add fruit to the bottom of the jars or mix in sugar and vanilla extract for flavoring.

Friday, December 16, 2011

The Cheese Challenge Part 3

I've been getting some questions about what books and supplies you'll  need for the first challenge.

For the book I recommend Home Cheese Making by Ricki Carroll. We'll be utilizing that for a lot of the recipes.

Our first month we'll be making fresh, soft cheeses that don't require any cultures. On January 1st I'll provide a list of the types of cheeses you can start with. Get creative. Add herbs and spices if you want. You won't need a press yet but you'll want to get some good cheesecloth or butter muslin.

Monday, December 12, 2011

More on the Cheesemaking Challenge

First and foremost, we need a name. I'm drawing a blank so if anyone has one to offer share it!

The challenges will start out easy, making some type of cheese that can be made with common items you might find in your kitchen. They will be generalized so that you can make a cheese of your choosing with they type of milk you want.

I highly recommend purchasing a cheesemaking book. Fortunately the web is also filled with lots of recipes so it won't be absolutely required but it would be more helpful.

As the challenges move forward you'll need to get more specialized equipment and ingredients/starter cultures/etc. Of course, for items like a cheese press I will show you how we made ours at home for less than $50.

Part of cheesemaking requires somewhere that is cool (50 deg F is standard) and humid to age your cheese. Basements can work well. We use a wine fridge so if you're going to take on cheesemaking start looking on Craigslist for them. You can sometimes find good deals on them because a lot of people are getting rid of them. A mini fridge with a thermostat controller can also work.

Feel free to start with a cheesemaking kit as well. They have everything you need for at least some of the cheeses all together.

At the end of each month I want to see links to posts about your cheesemaking! Leave them on our FB page. I'll include a list on the blog of the bloggers that are taking part. If you're participating send me an email and I'll get your blog and/or name on the list!

I'm excited. Are you?

Sunday, December 11, 2011

Making Peanut Butter

Have you ever thought something was crazy hard to make and easier and cheaper to just buy? And then did you realize it's the exact opposite? That happened to me with flour tortillas (not to mention they taste soooo much better homemade) and now with peanut butter. When we decided to give peanut butter a go, I could not believe how simple it really was. Of course, this can happen with most nuts, which can greatly reduce the cost. The only tool you really need to make peanut butter is a food processor.


A good rule of thumb is 1 cup of nuts will become 1/2 cup of nut butter. I start with salted dry roasted peanuts.


Basically just turn on the processor.


As the oils in the nuts get released the peanuts will start to look like butter. It will form a large mass but it's not done. At this point it's difficult to spread.


The lump will break apart and the peanut butter will become smoother and more easily spread. You can add more salt if you want, or just leave it as is.

That's really all there is to making peanut butter.

Tuesday, December 6, 2011

Blessed are the Cheesemakers


I am new to making cheese, but I love doing it! Once you have the tools you need it can be quite fun, though sometimes time consuming. But the resulting product is nothing short of amazing. There's something to be said about processing your own food.

So I'm taking a page from Mrs. Wheelbarrow and The Yummy Mummy with their Charcutepalooza: A Year of Meat. What better accouterments to go with cured meat than some cheese?

Starting January 1st I will post a new cheesemaking challenge. Join me in learning how to make cheese, talk about it, write about, take lots of photos. I'll post more about it in the upcoming weeks, but for now, consider this your warning.

Sunday, December 4, 2011

Mmmmmm....Crockpot Chili

It's been awhile since I've done a non-canning recipe so I figured I was overdue.


With this cold weather it's nice to sit with a bowl of comfort food. I love chili but I really don't make it enough. We have a ton of dry beans that we've grown so there really is no excuse for not making it. Yes, I put beans in my chili, which I know some of you would consider blasphemous. I've done it this way since I learned how to cook. My mom has done it this was for as long as I can remember. And I will probably always add beans to my chili.


I don't like to heavily rely on meat to make my chili, well, meaty, so beans are added. Of course, it does take some planning ahead because you'll need to soak the beans overnight. You could skip the soaking, but it will have to be cooked on the stovetop at a higher temperature for quite awhile.


As for the meat, we've got a freezer of goat and it seemed like some goat ribs would be a fantastic addition to this chili. Goat can be difficult to find so feel free to substitute it with lamb.


The night before in a large bowl cover 2 cups of dry beans with water. Add enough water so that there is at least an inch of water over the beans.

The next morning in your crockpot combine:

2 cups chicken broth
1 large onion, chopped
4 cups tomato sauce
1 Tbs cumin
2 Tbs chili powder
1 tsp salt
12 oz roasted green chilies, chopped
1 lb goat ribs

Turn your crockpot on high and leave it until dinner. The meat should be falling apart. Most chili powders are mild so it won't really be a spicy chili. If you want it to have some kick add some hot sauce. Serve with fresh chopped onion and sour cream.